Portable Homeless Shelter
About This Project
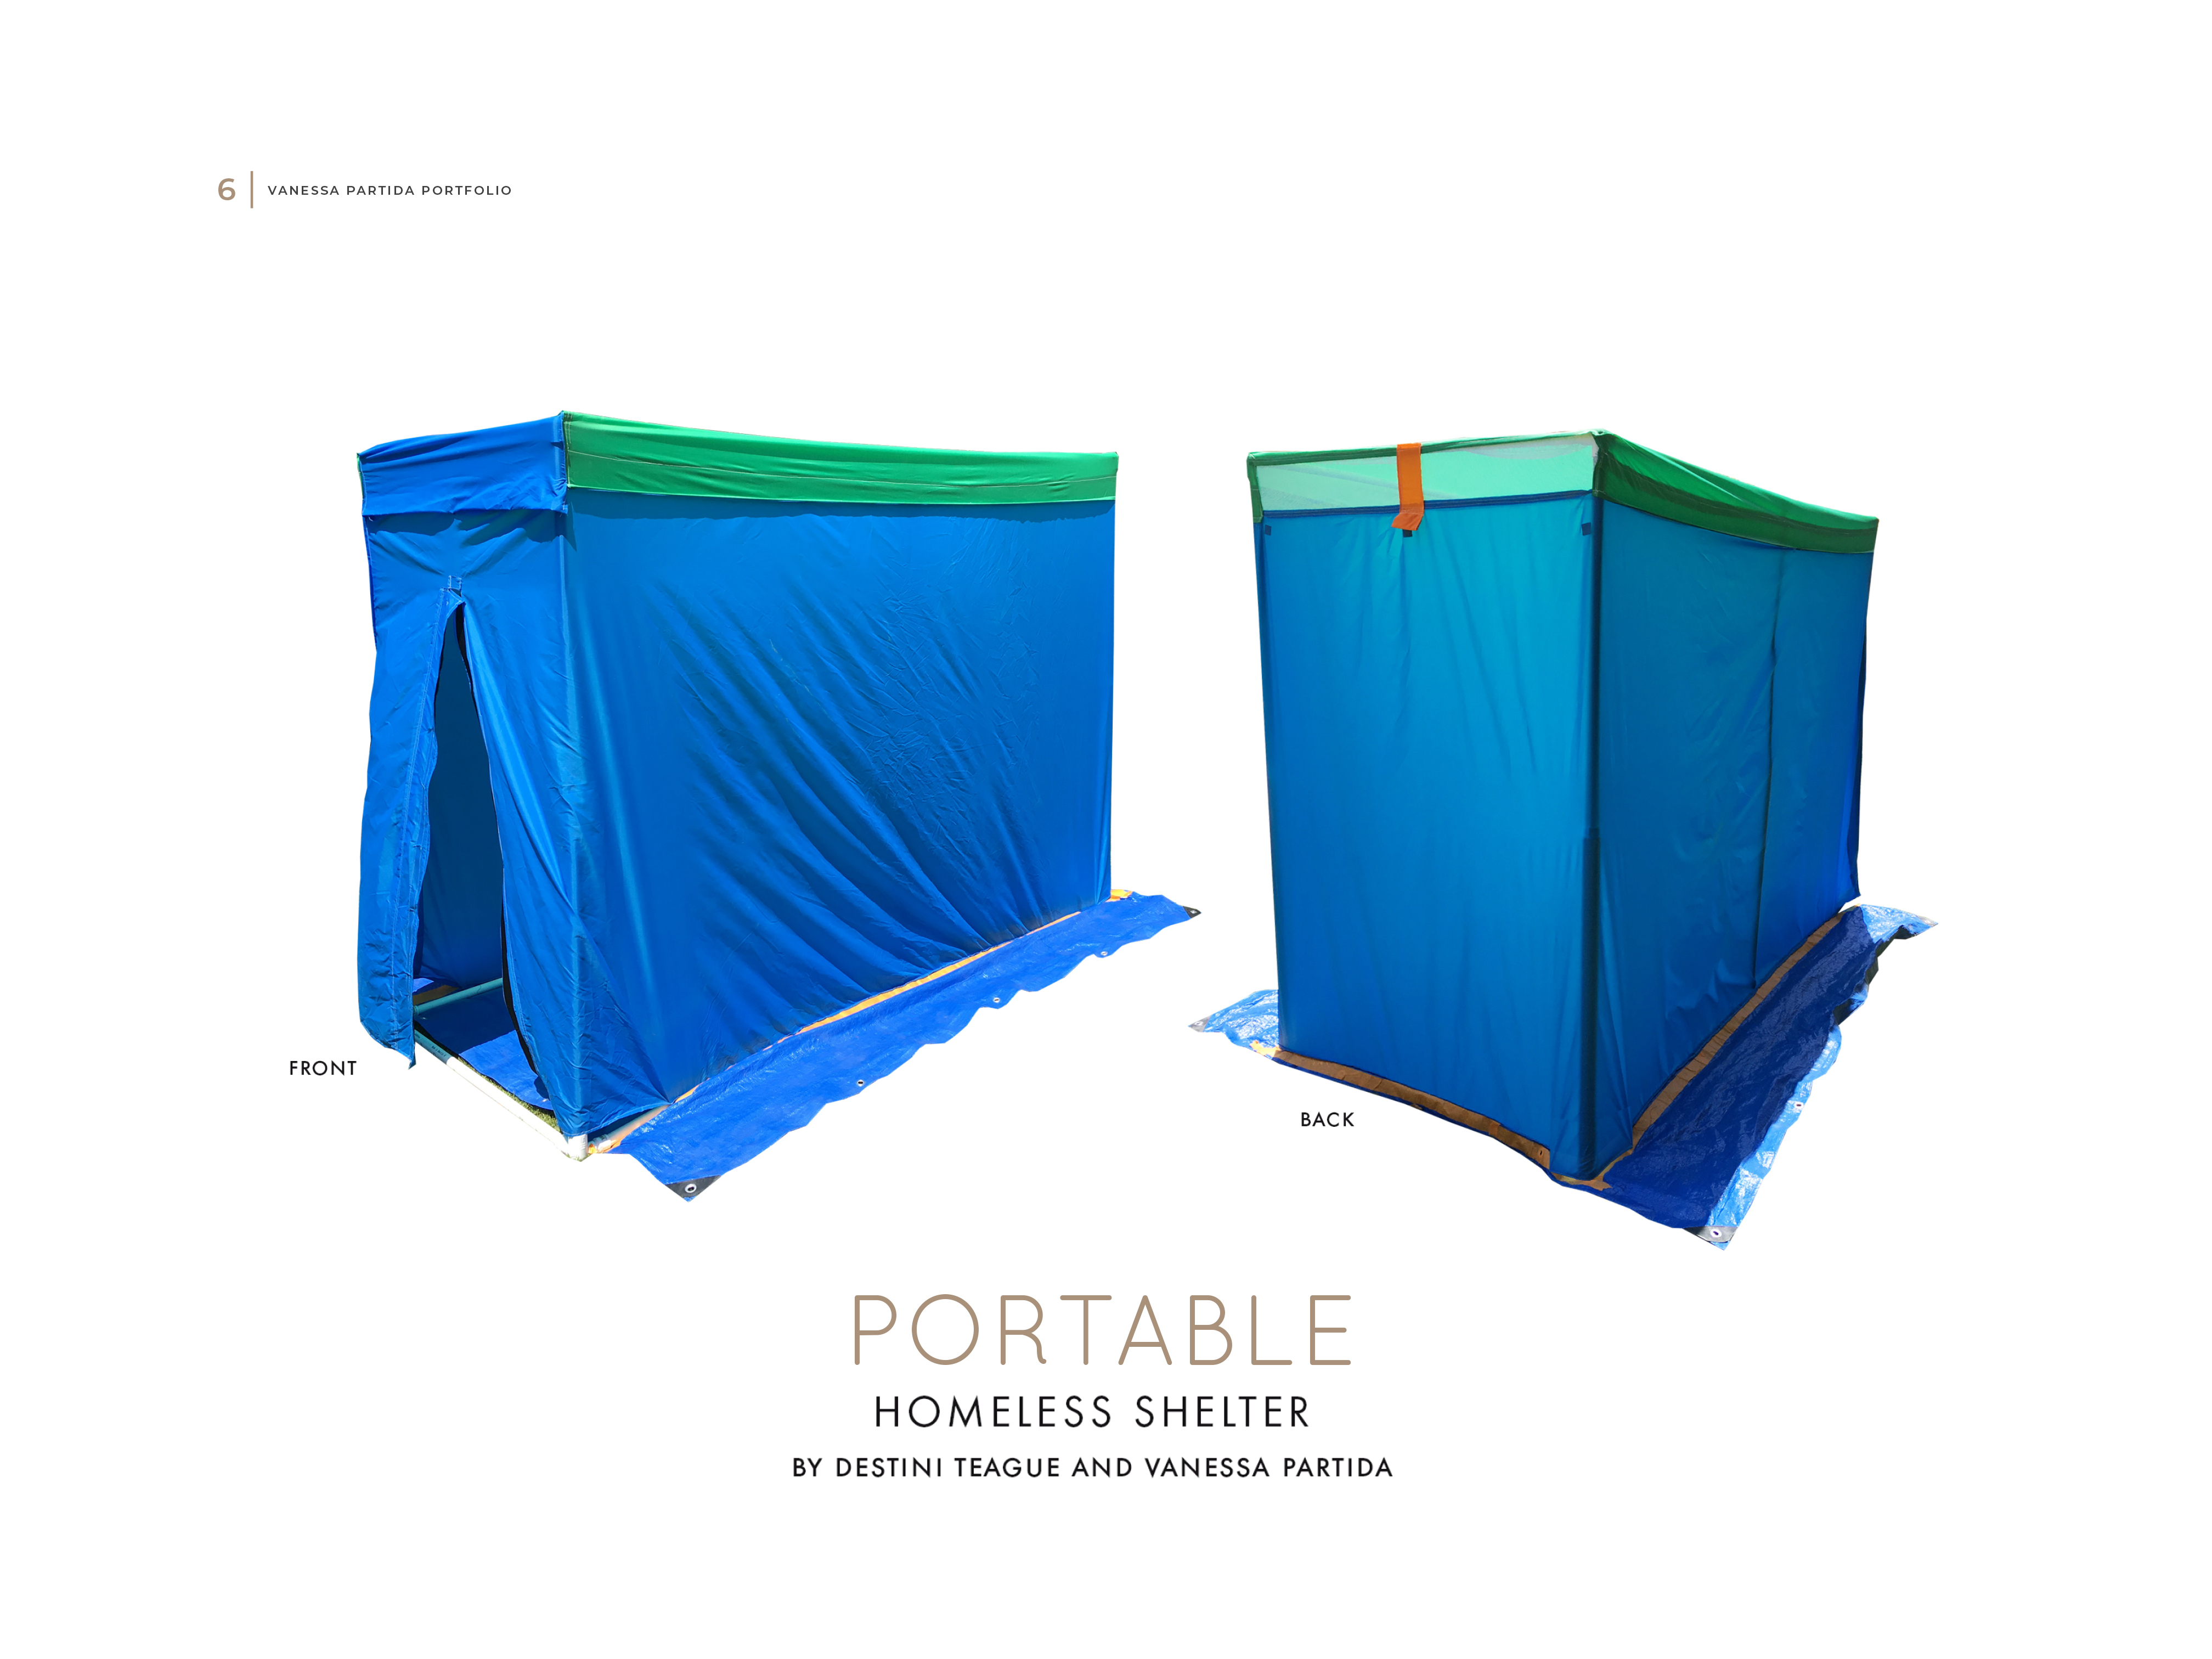
Destini and I had to design a Portable Homeless Shelter. This was our final project for our Architecture Design Fundamentals Class. We had to use materials that were affordable and easy to carry.
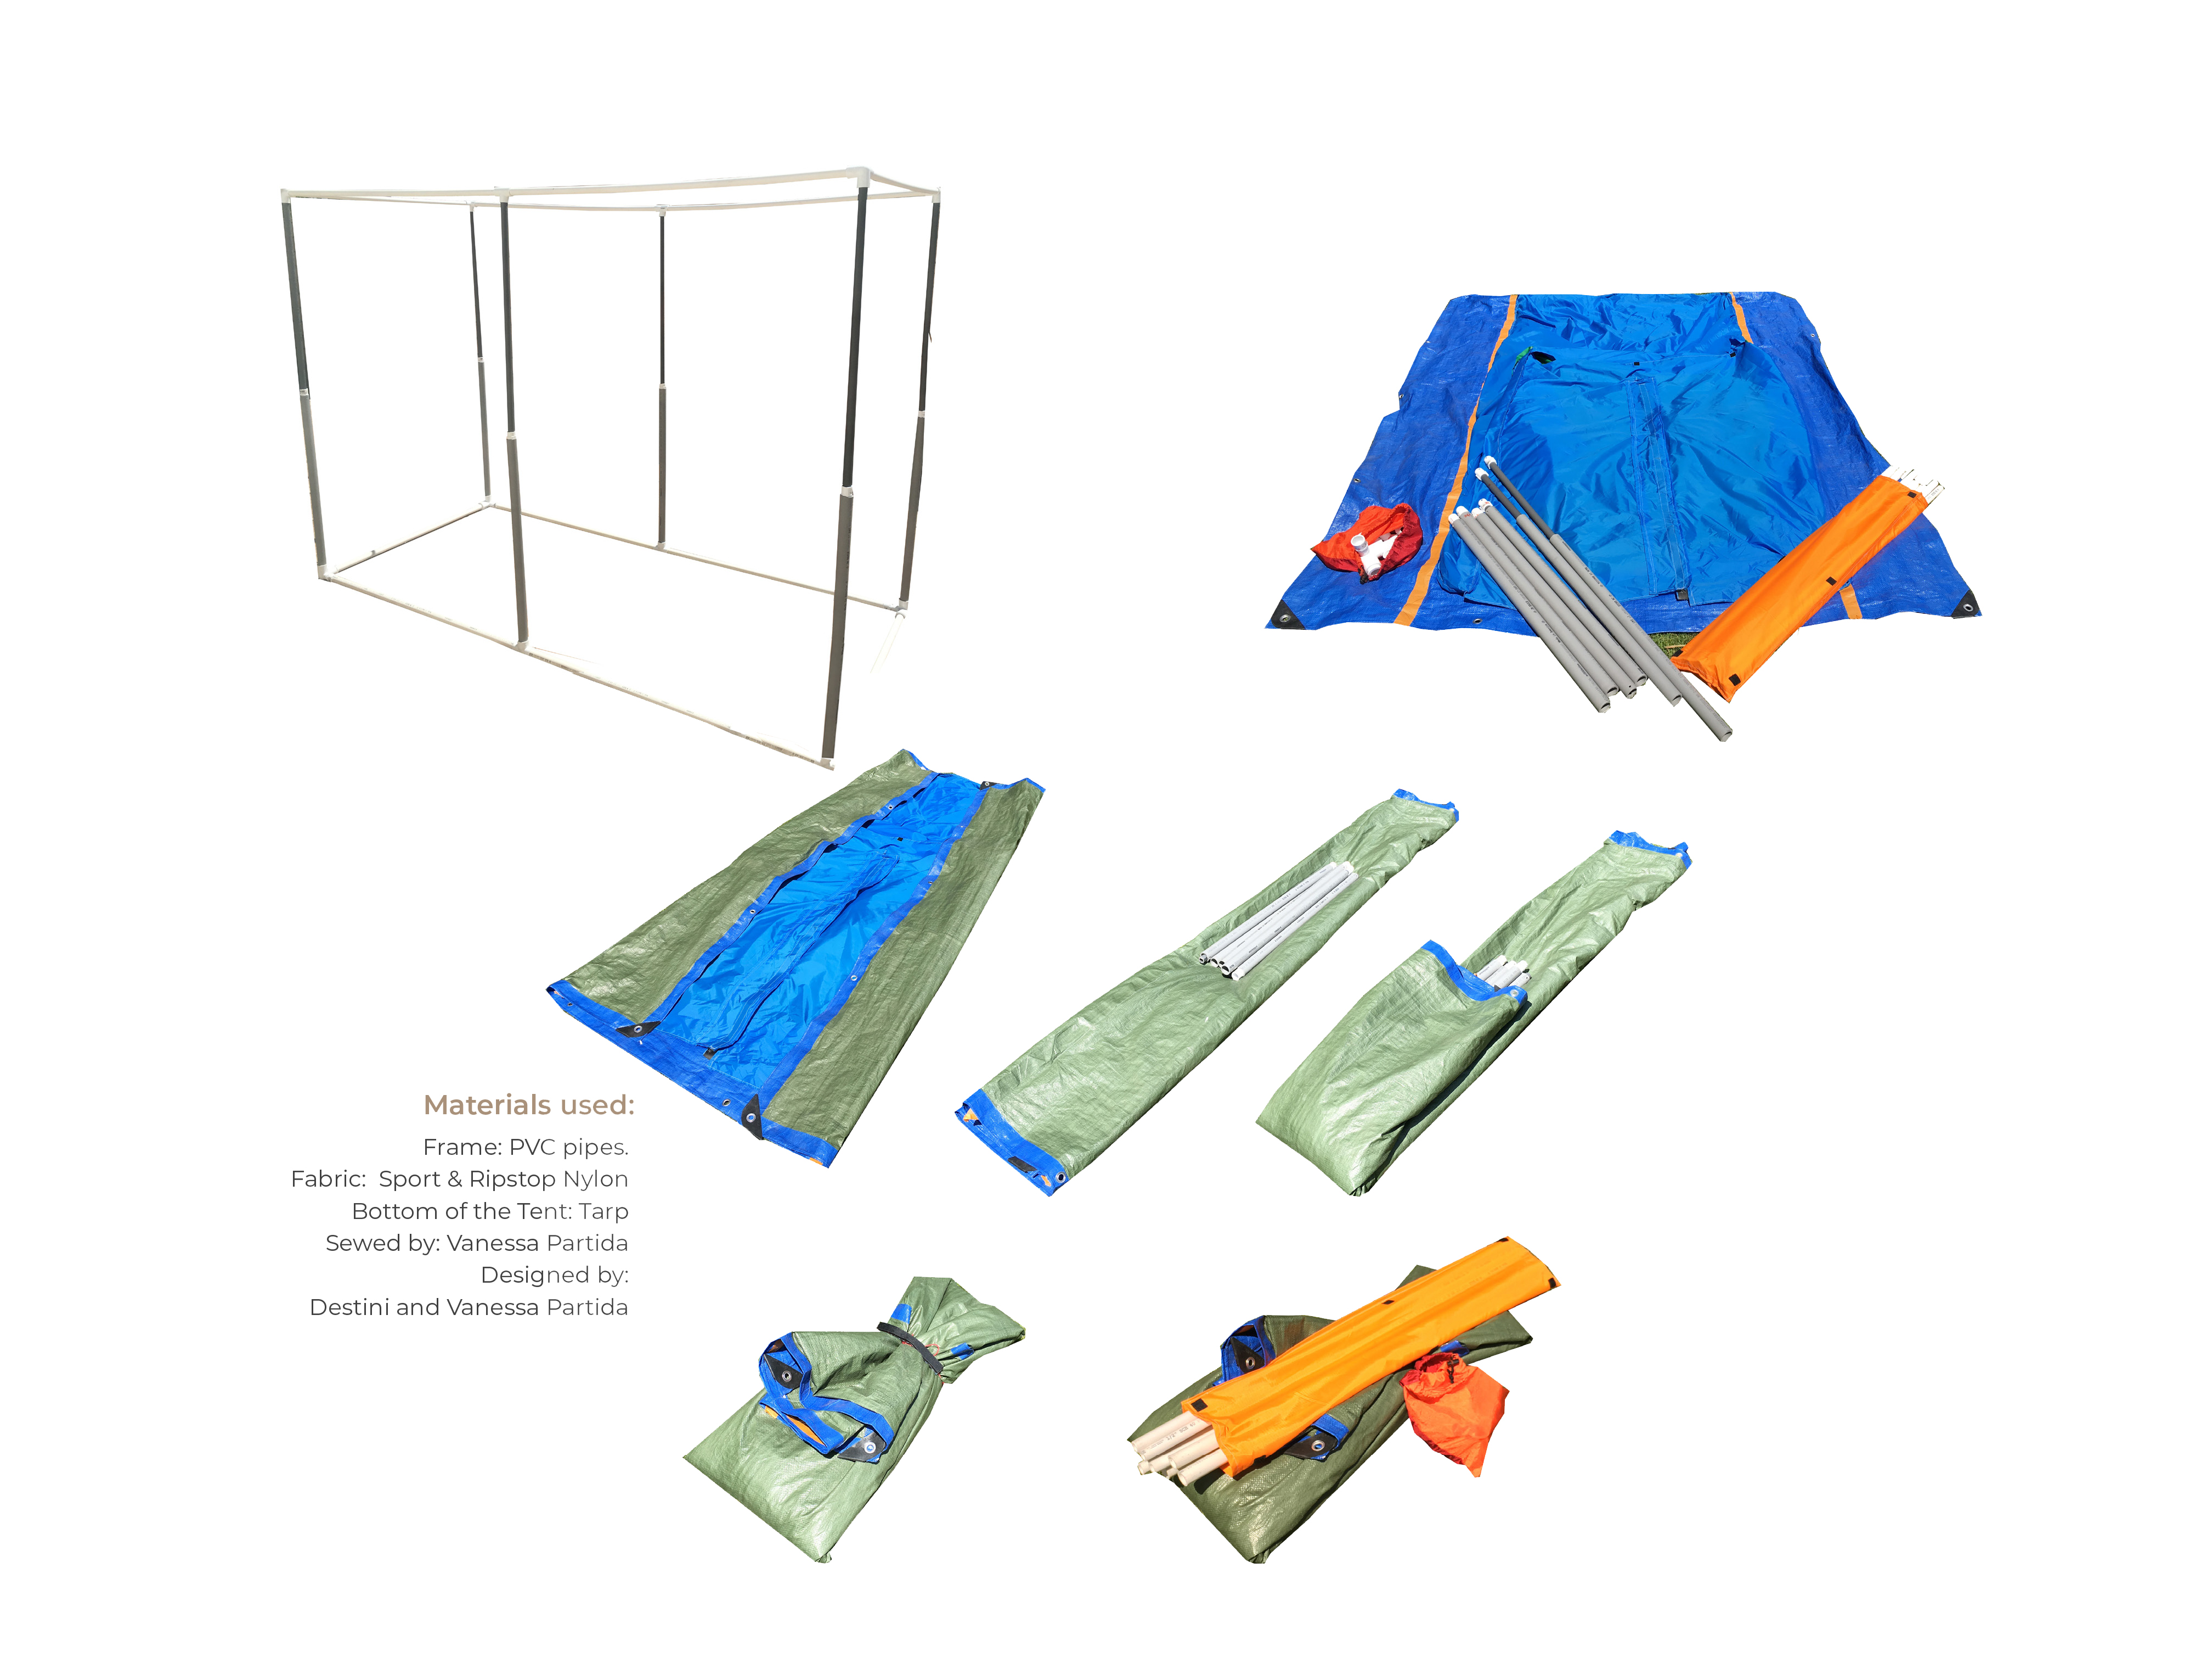
Destini had the idea to use PVC pipes to build the frame. I had to figure out how to build it in a way it was not only sturdy but functional.
It really looked easy to do but it wasn’t. I spent a few hours at the store because not all the PVC pipes had the same diameter for each side. I had to go back to the store many times. I had to ask my dad to help me. My dad and I tried and tested that every piece of the frame matched perfectly until we made it work!
Once we were done connecting the PVC pipes, now I was on my own. First, I had to chose the material. The fabric had to be durable, wind and water proof. I also had to do all the measuring, the cutting and the most challenging part of all…the sewing.
Luckily, I had a little background working with fabrics and did a bit of sewing before ( but never sew a project this big!) I didn’t know if my sewing was going to work and I was just hoping to finish on time ( I made a lot of mistakes) I had to redo the sewing a few times.
I wanted the shelter to have the feeling of a happy place to live, the reason I chose bright colors. The parts where I ran out of fabric, instead of buying more material to cover it, I used those empty spaces to create little windows to the top front and back part of the shelter (for natural cross ventilation) I also sew a little bag to carry all the horizontal (white) PVC pipes. This bag can also be used to cover the back window of the shelter to prevent air from coming in. To open and close the tent, I used velcro. For the bottom part of the shelter, we decided to use tarp material. Finally, to enclose the whole tent and to prevent dust from coming in, I had to sew the bottom part of the shelter with the tarp (excluding the front side of the shelter)
From connecting the PVC pipes, finding the fabric, measuring it, sewing it, to pinching my fingers (so many times with the pins) making a lot of mistakes, and the sleepless nights, at the end it was worth it! Even though my sewing was not perfect, it was really rewarding to see the final product!
This Portable Homeless Shelter is easy to take down and carry.
While I was working on putting it together, making it sturdy, finding the fabric and doing the sewing, Destini was working on our final presentation. When we finally presented our project, the teacher was really happy with it and the best part of it was that we passed the class! 😉
Portable Homeless Shelter
Materials: PVC pipes, Sport & Ripstop Nylon, Tarp, Velcro, and Mesh for windows
Date
20 November


Sorry, the comment form is closed at this time.